Sorry, this entry is only available in French.

Sorry, this entry is only available in French.
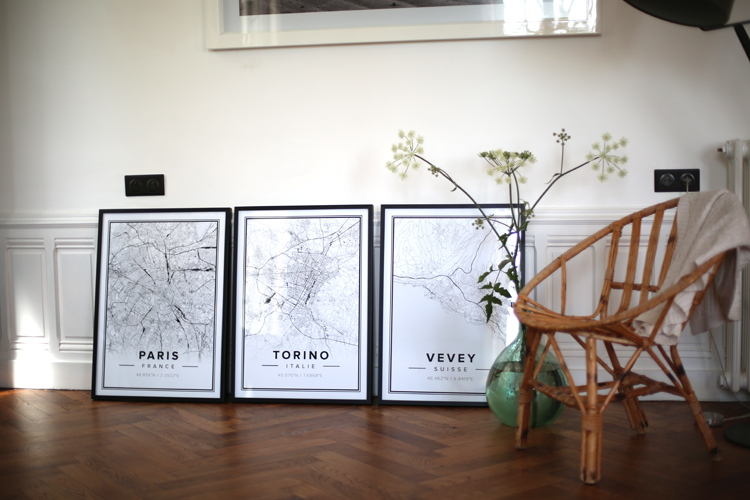
The maps have always reminds me of my elementary school years in Switzerland.
At these orientation courses, courses of geography that have contributed to my sense of direction and my nickname “GPS”. Nor not laugh, release me without a mobile phone in Los Angeles with just a map and I’m doing finger in the nose (true story!).
Back to our maps of the day, I discovered an absolutely fascinating site where I

Sorry, this entry is only available in French.

Sorry, this entry is only available in French.

Sorry, this entry is only available in French.
Sorry, this entry is only available in French.
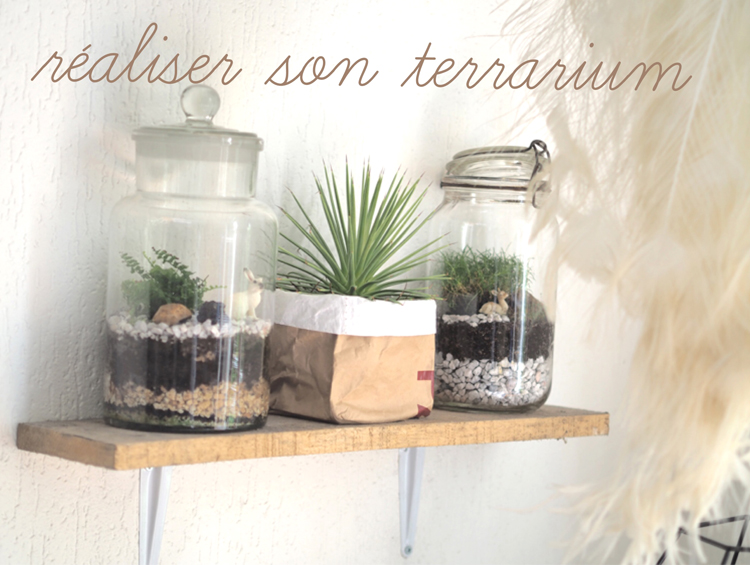
Start with a medium-sized, clear glass open-top container. You can use anything that strikes your fancy—a vase, a cleaned-out pasta jar, a fish bowl, or a special terrarium bowl.
Tip: Use a paper towel to transplant prickly cacti to avoid pricking your fingers.
Tip: Play around with the arrangement—mixing up the types of plants, colors, and sizes to make it more visually pleasing.
Tip: Succulents like direct sunlight every day. Lightly water the base every two weeks or once the soil dries out.
This post won’t be available in English
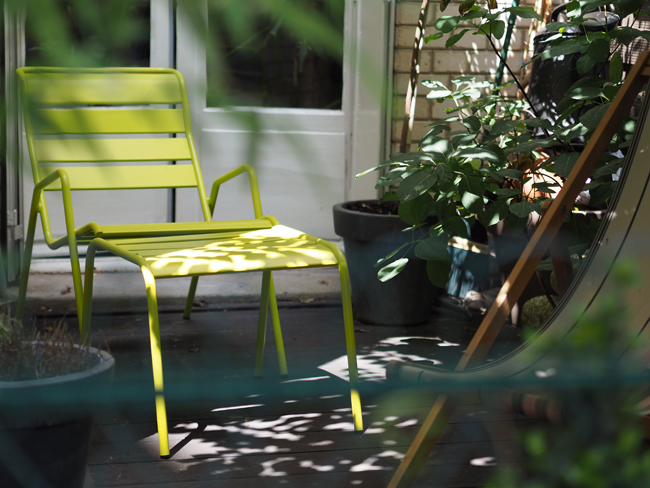
In my last home deco post, I have told you about my little parisian yard. My little piece of nature, not very big, about 35 sq yards, but enough for me to survive in Paris. A few months ago, I had the chance to get the help of a gardening coach whom entirely redid my little yard. Before its…
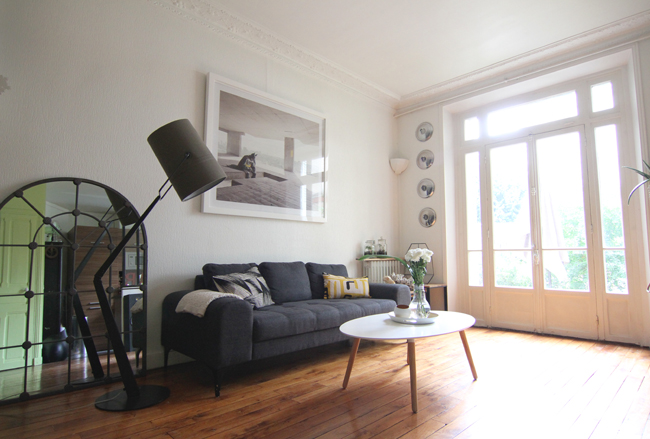
I was pleasantly surprised by all your reactions further to my first home deco post (my country house here) so let’s continue with my parisian apartment.
I moved to Paris 8 years ago and I first lived in a smaller apartment in the heart of the lively neighborhood of Oberkampf in the 11ème arrondissement. Then right before Lino arrived, I moved to the 14ème arrondissement, a much calmer, family neighborhood that fits me way better today.
I sought my Grail for almost 2 years and it’s a real estate agent whom finally found it for me. On the ground floor of a 1860’s building, I’m incredibly lucky to have a little yard. The little breath of fresh air that allows the country girl that I am to survive in Paris.
Today, let’s focus on my living-room, I’m dividing up the presentation of my apartment so it will be more digestible for you. It’s a big living-room open on the dining-room and the kitchen, I had all the dividing walls taken down.